You can burn a disc image file, which often has either an .iso or .img file name extension, to a recordable CD or DVD by using Windows Disc Image Burner. Whether you can burn it to a recordable CD, DVD, or Blu‑ray Disc depends on your disc burner and the type of discs it can burn, the size of the disc image file, as well as the device on which you plan to use the disc.
Windows 7's ISO burning feature isn't all that useful for a majority of people, but for the small percentage who do need it, it's phenomenal. Just follow the below steps its quite easy!
Step1: Insert a recordable CD, DVD, or Blu‑ray Disc into your disc burner.
Step2: Open Computer by clicking the Start button Picture of the Start button, and then clicking Computer.
Step3: In Windows Explorer, find the disc image file, and then double-click it.
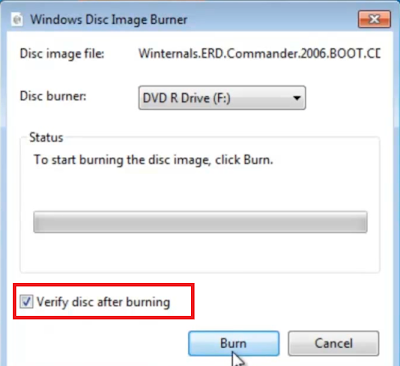
Step4: If you have more than one disc burner, from the Disc burner list in Windows Disc Image Burner, click the burner that you want to use.
Step5: (Optional) If you want to verify that the disc image was burned correctly to the disc, select the Verify disc after burning check box.
Step6: Click Burn to burn the disc.
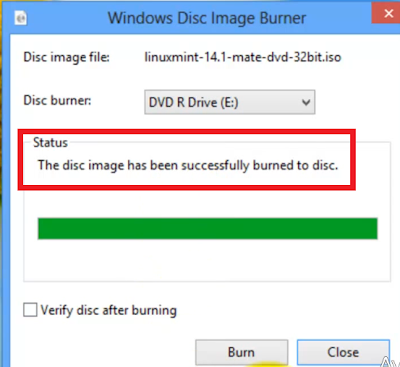
After this you will see at the "Status" ( The disk image has been successfully burn to disk) like figure below:
You are done.
That's all. Hope you enjoy this tutorial. Like my Facebook page and Subscribe via Email to get Latest Updates.


No comments:
Post a Comment